
Last updated October 8, 2026
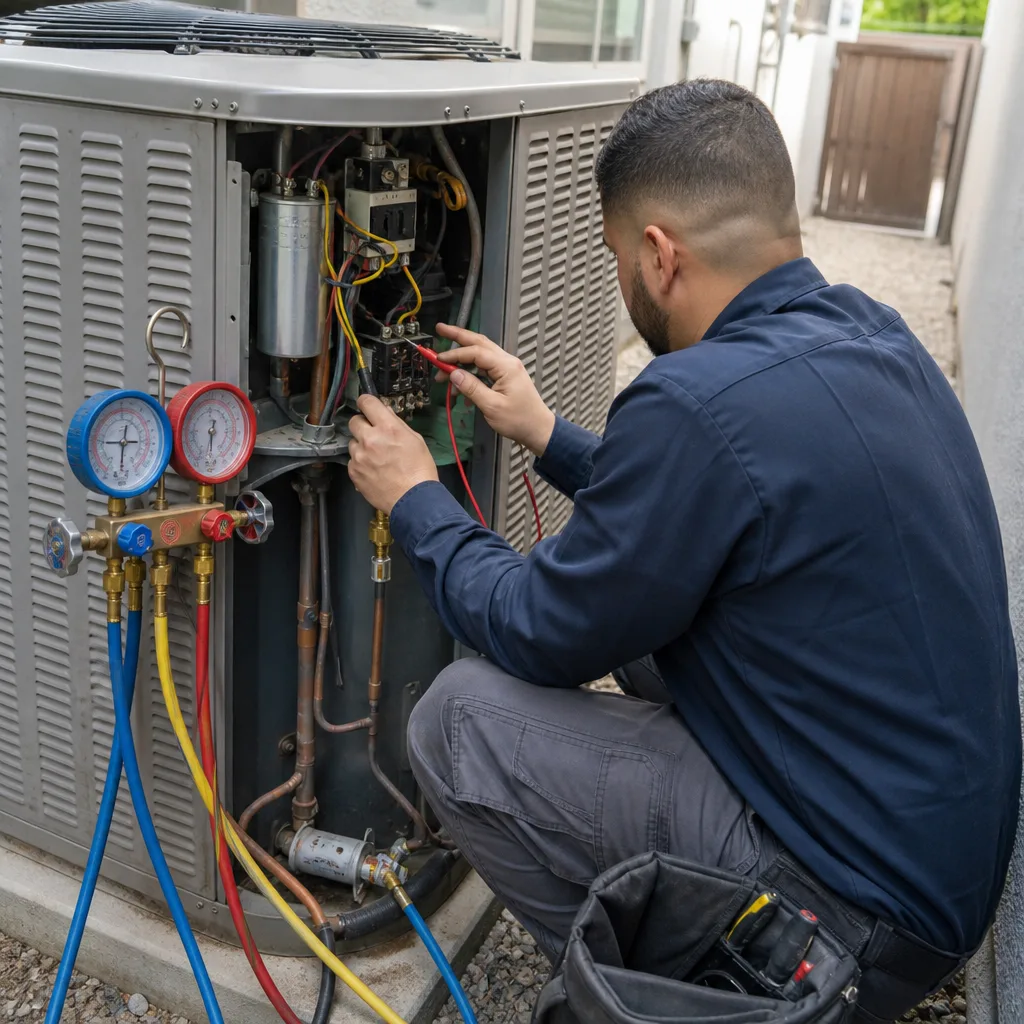
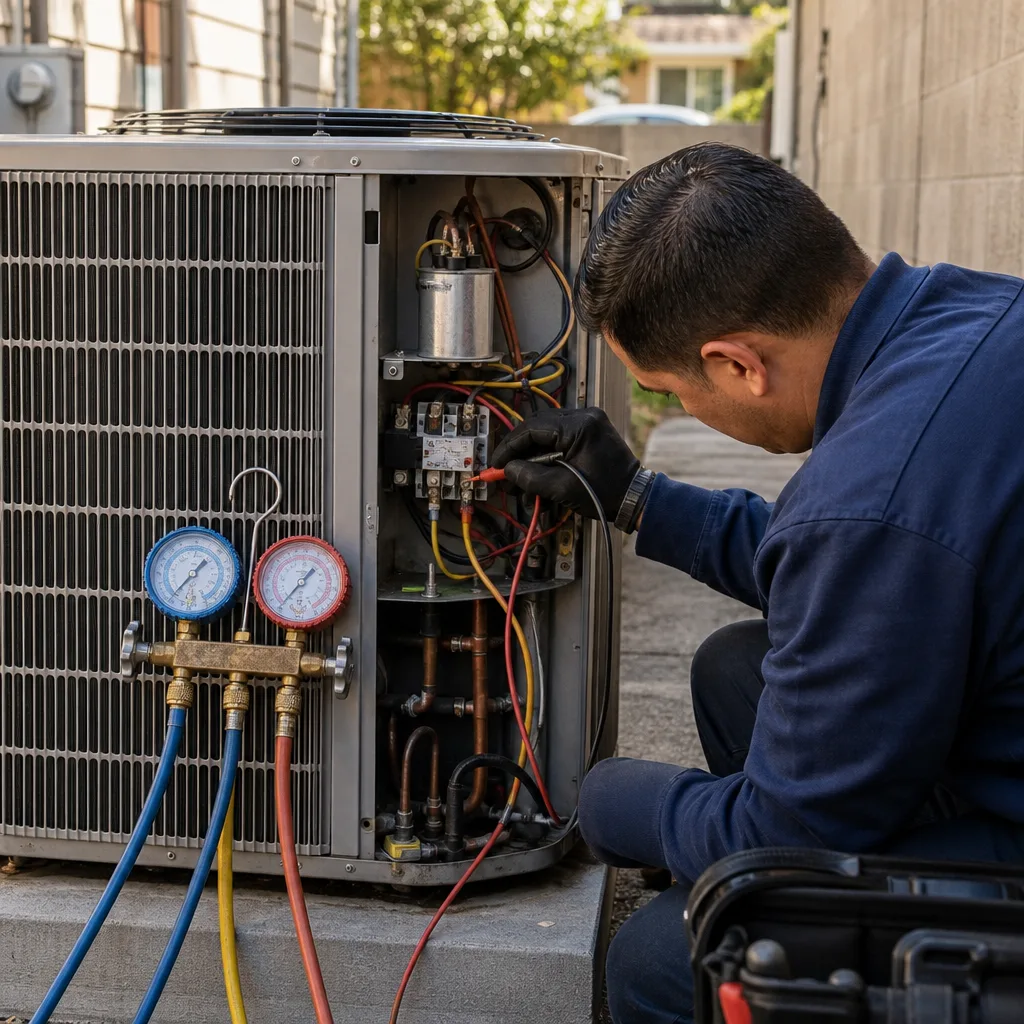
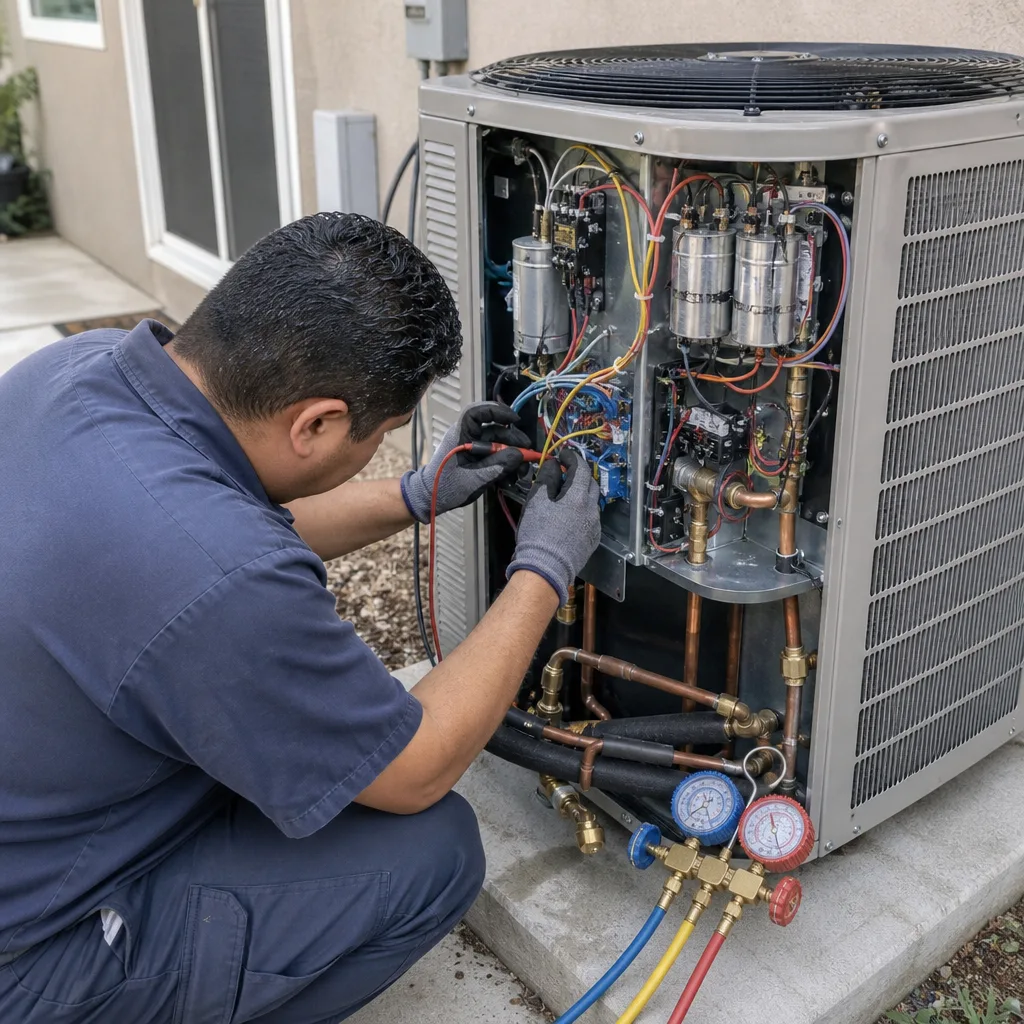
Seasonal tune-up and full diagnostic on your Carrier, Trane, or Goodman system - readings shown to you before any repair is proposed
Diagnosis first, numbers second - you approve the repair price before a single part goes in.
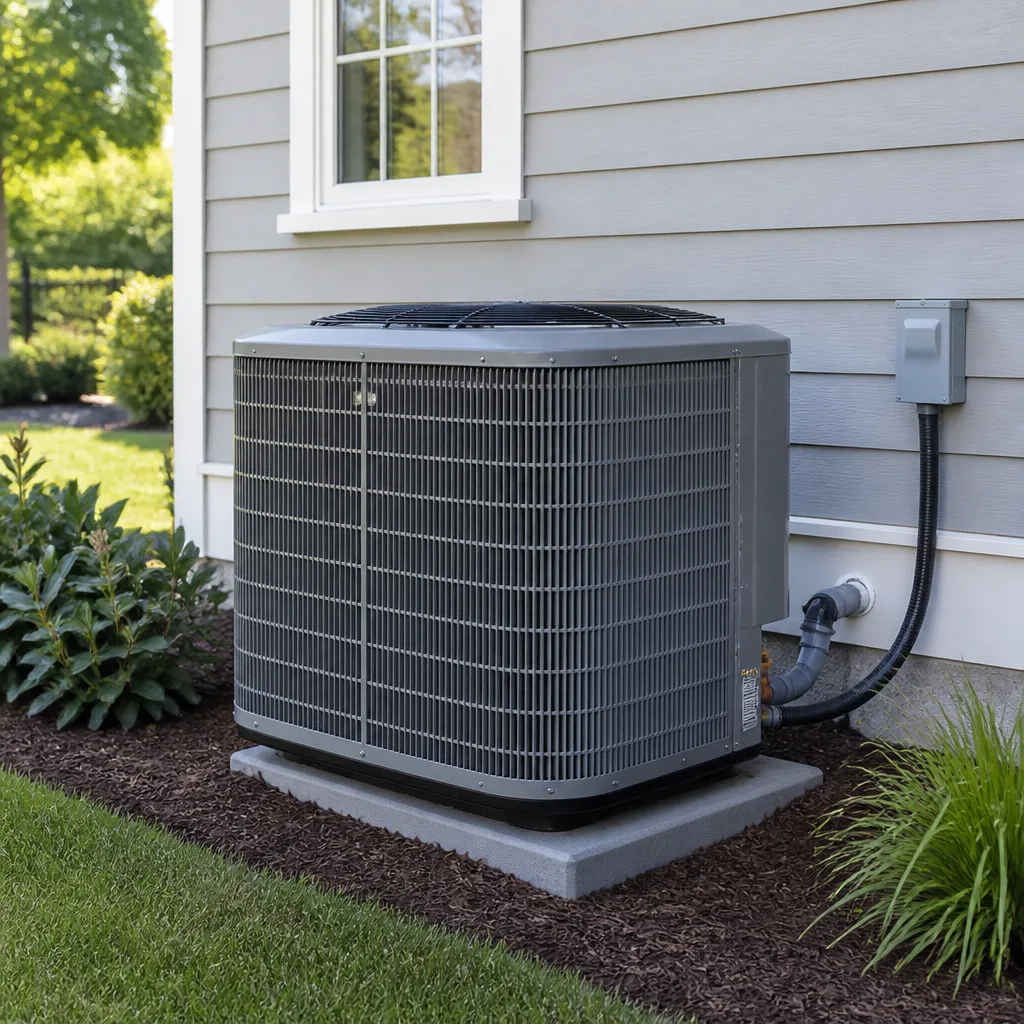
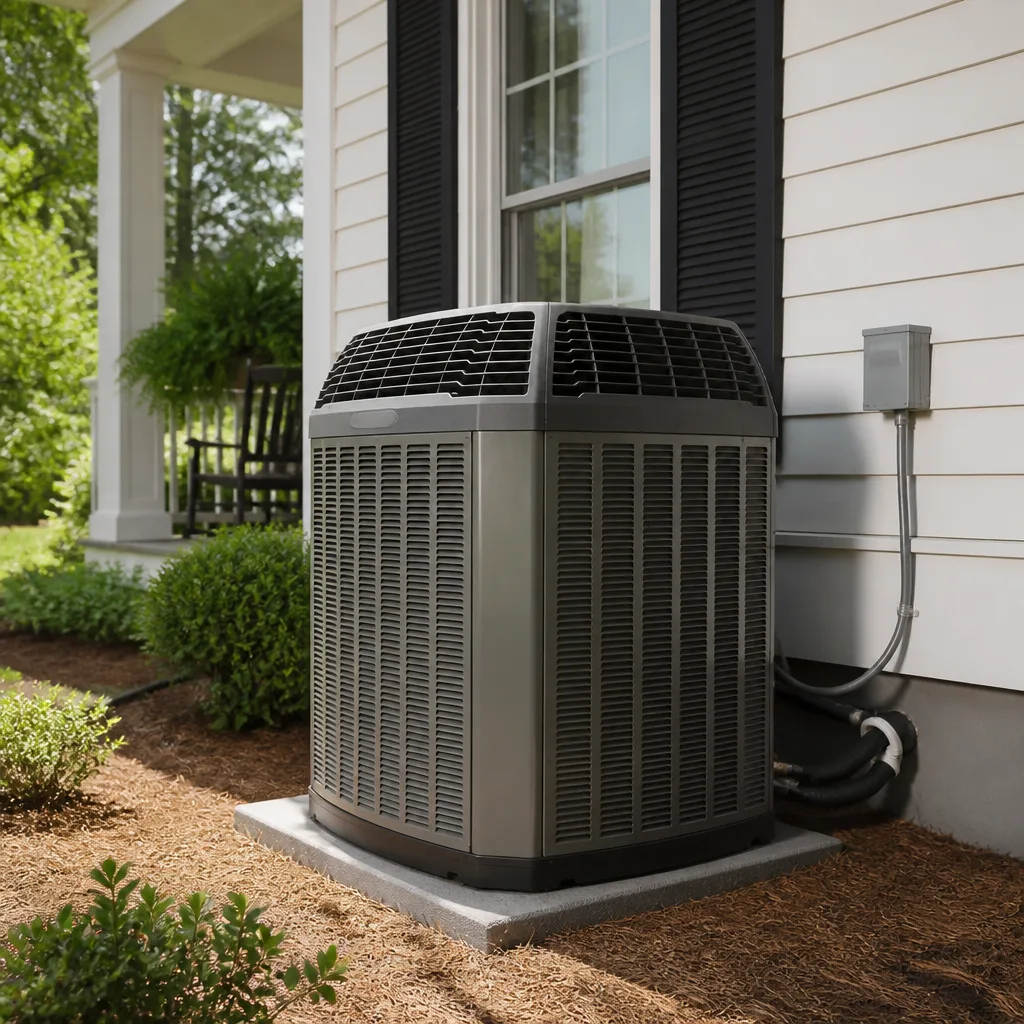
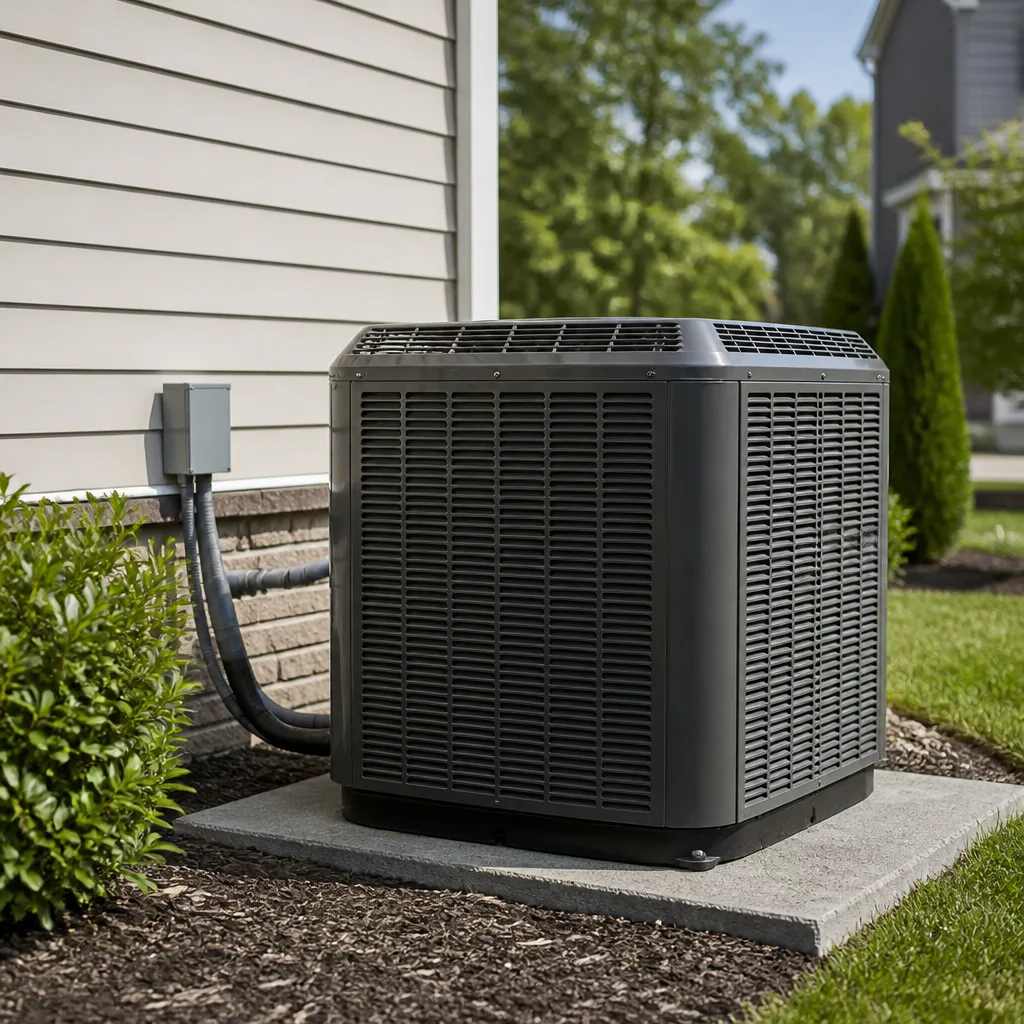
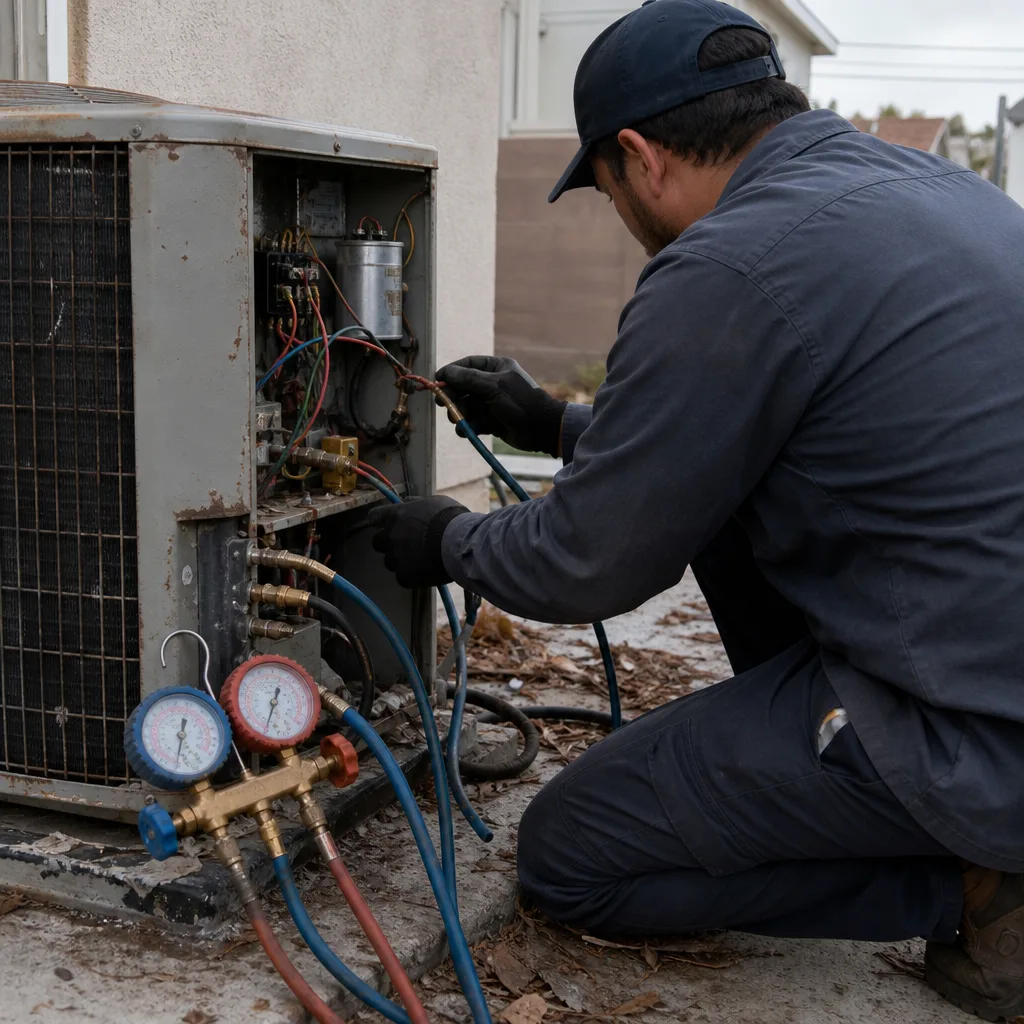 Before
 After
After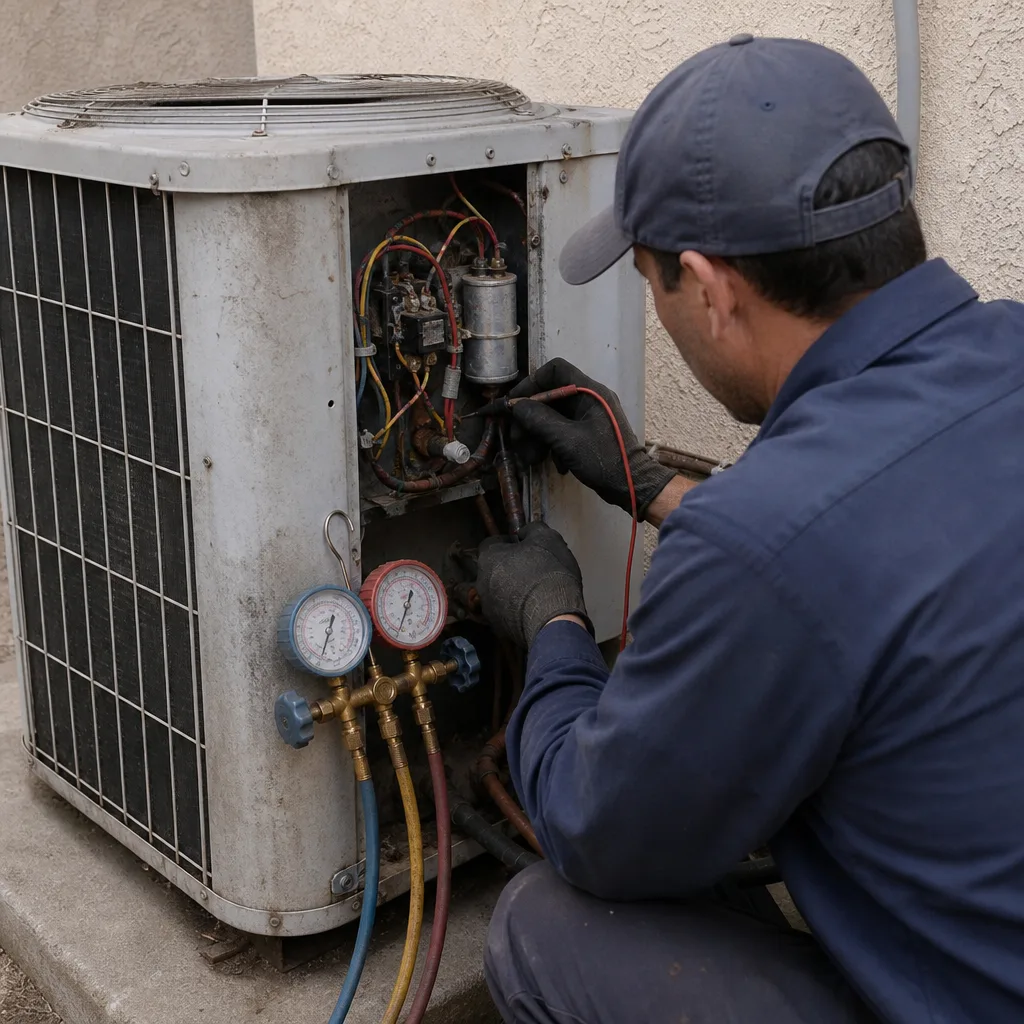 Before
 After
After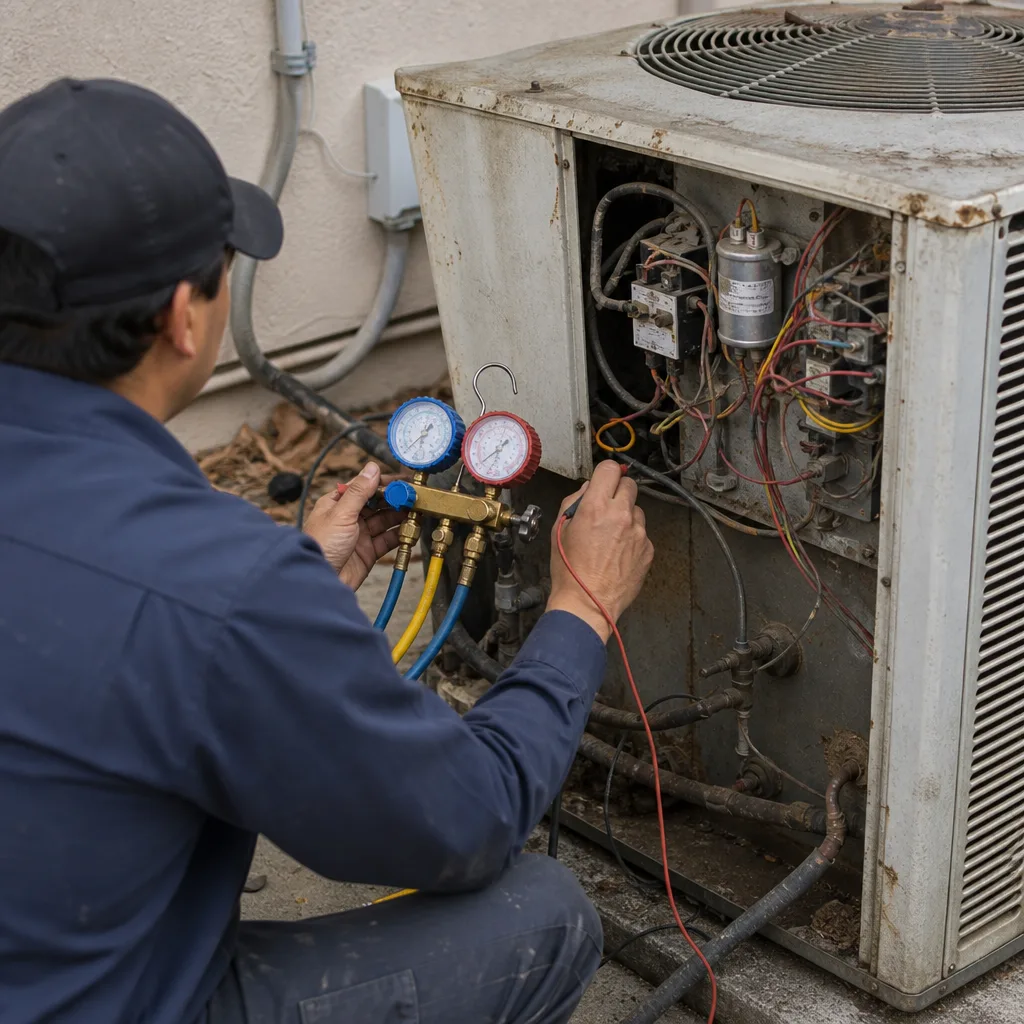 Before
 After
AfterAC Installation Warning Signs Every Homeowner Should Know
An AC unit that cools just fine in May but struggles in a July heat wave isn’t necessarily undersized - it may be an installation error that only reveals itself under peak load conditions. In Los Angeles, where inland valleys hit 100°F and coastal humidity spikes in late summer, a botched installation often hides behind pleasant spring weather for 60 to 90 days. We’ve seen homeowners in neighborhoods from Northridge to Downey discover too late that their “working” system was actually leaking refrigerant, starving rooms of airflow, or cycling itself to death while the contractor’s easy-to-dispute window quietly closed. This guide - along with our AC Repair Maintenance Checklist for Los Angeles Homeowners - walks you through the warning signs that show up immediately, the ones that wait for peak summer stress, and the simple 30-day check you can do yourself to catch problems while they’re still clearly the installer’s responsibility.
Quick Answer
AC Installation warning signs fall into two groups: immediate symptoms (refrigerant odors, water pooling, loud vibration, uneven airflow) and delayed symptoms that appear under peak summer load (inadequate cooling, electric bills 30-50% higher than expected, frequent short-cycling, rooms that never reach thermostat setpoint). Homeowners who perform a 30-day post-installation check - testing thermostat accuracy, measuring airflow room-to-room, and inspecting condensate drainage - can catch contractor errors while warranty disputes remain straightforward. In Los Angeles, a properly installed 3-ton system should add roughly $120-$180 to a summer monthly bill; spikes well above that signal an installation problem.
Table of Contents
- Immediate Warning Signs (Days 1-14)
- Peak-Load Problems That Surface in July and August
- The Hidden Cost of Duct Leakage
- Reading Your Electric Bill as a Diagnostic Tool
- The 30-Day Post-Installation Check Every Homeowner Should Do
- Documentation to Keep From Installation Day
- Common Mistakes to Avoid
- When to Call a Professional
- Frequently Asked Questions
Immediate Warning Signs (Days 1-14)
Some installation errors announce themselves immediately. Others whisper. Here’s what to watch for in the first two weeks.
Refrigerant Odor or Oil Stains
A sharp, sweet chemical smell near the indoor coil or outdoor condenser means refrigerant is escaping. In a new installation, this almost always traces to improper brazing (the high-temperature soldering that joins copper lines), loose flare connections, or failure to pressure-test the lineset before charging the system. Refrigerant leaks on day one are installer error, not component defect.
Look for oil stains too. Refrigerant carries compressor oil with it; where refrigerant leaks, oil follows. A dark residue on the service valves, line set insulation, or coil fins is physical evidence of a leak that will worsen.
Water Pooling Indoors or Near the Foundation
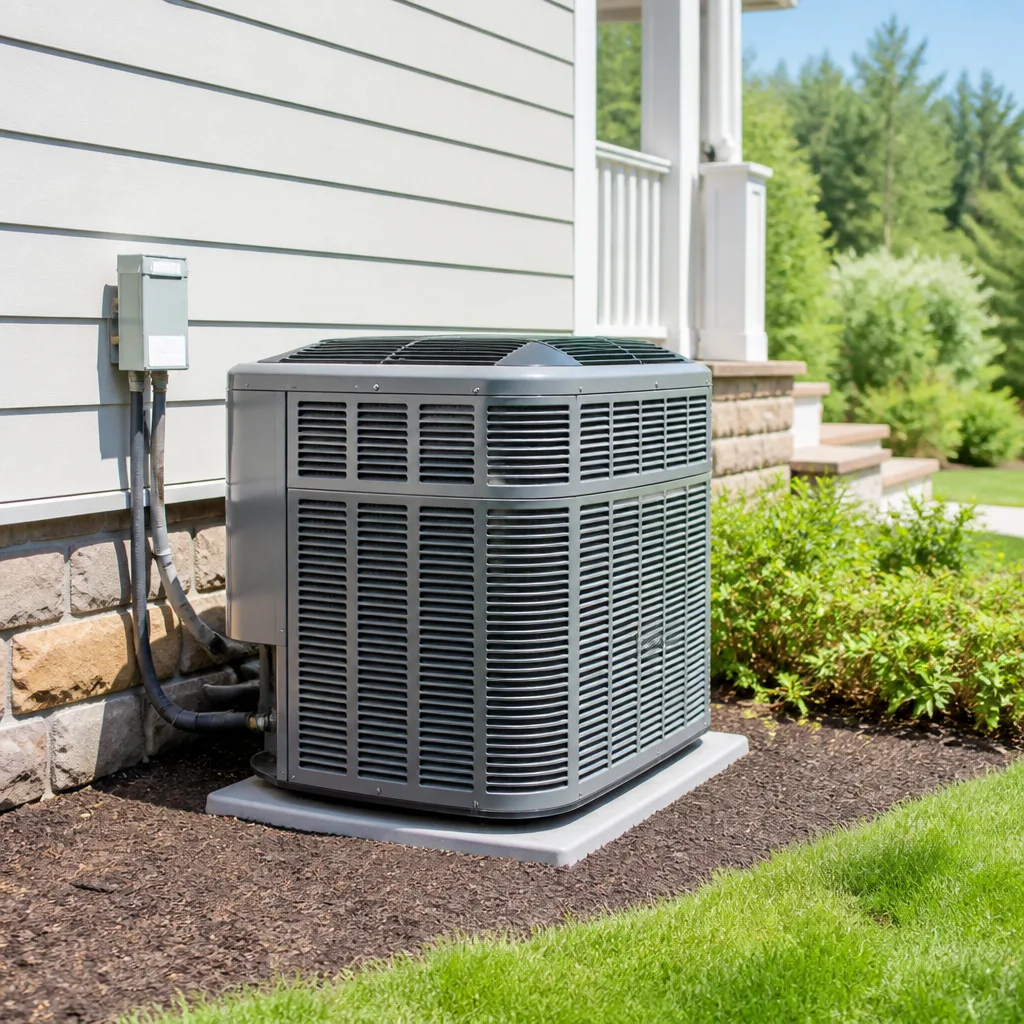
Your AC removes humidity by condensing water vapor on the cold indoor coil, then draining it away. In Los Angeles, where summer humidity can spike during monsoon flow from the southeast, condensate volume matters. Improper pitch on the drain line, a missing P-trap (the curved pipe section that prevents sewer gas backup), or failure to seal the coil cabinet can send water into walls, ceilings, or your slab.
Check the emergency drain pan under the indoor unit. If water is present, the primary drain is already backing up. This is not a “wait and see” issue. Water damage in Los Angeles homes often triggers mold within 48-72 hours once drywall is saturated.
Loud Vibration or Rattling
Some vibration is normal; excessive vibration is not. Common installation causes include:
- Condenser pad not level, causing compressor internal wear
- Refrigerant lines rubbing against framing or drywall
- Missing vibration isolators (rubber pads) where lines penetrate walls
- Undersized return duct creating pressure pulses
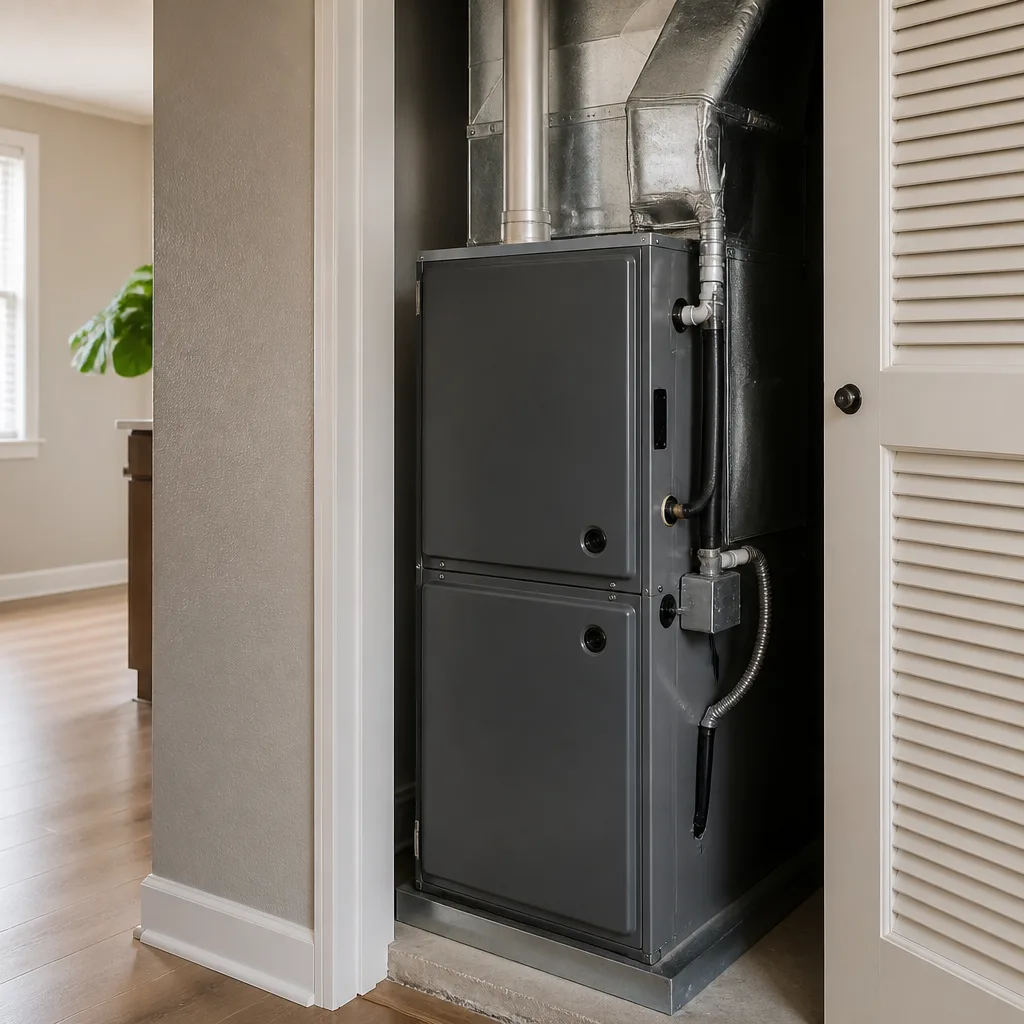
- Loose blower wheel or motor mount in the air handler
A system that rattles the wall on startup will eventually loosen electrical connections and refrigerant fittings. Note the exact conditions - which mode, which fan speed, time of day - and demand correction.
Uneven Airflow Room to Room
Close every door in the house. Run the system for 20 minutes. With a simple piece of toilet paper or ribbon, test airflow at each supply register. Weak or absent airflow in specific rooms usually means:
- Dampers (adjustable plates inside ductwork) left in shipping position, not balanced for your home
- Duct runs disconnected or crushed during attic work
- Return air pathways blocked by insulation or storage items
- Supply register sizing mismatched to room load
In older Los Angeles neighborhoods like Highland Park or Eagle Rock, original ductwork from the 1950s-70s often gets “repurposed” for new equipment without proper resizing. A 3-ton blower forcing air through ducts designed for 2 tons creates noise, poor distribution, and premature equipment failure.
Peak-Load Problems That Surface in July and August
This is where most homeowners get caught. The system seemed fine in May. Then August arrives, and the house won’t cool below 78°F.
Inadequate Cooling Under Peak Load
A properly sized and installed system should maintain 75°F indoors when it’s 95°F outside, assuming standard insulation and reasonable air sealing. In the San Fernando Valley, where 105°F days are routine, design conditions are higher - but your contractor should have sized for them.
If your system runs continuously on hot days without reaching setpoint, suspect:
- Refrigerant undercharge or overcharge (common when installers guess instead of weigh the charge)
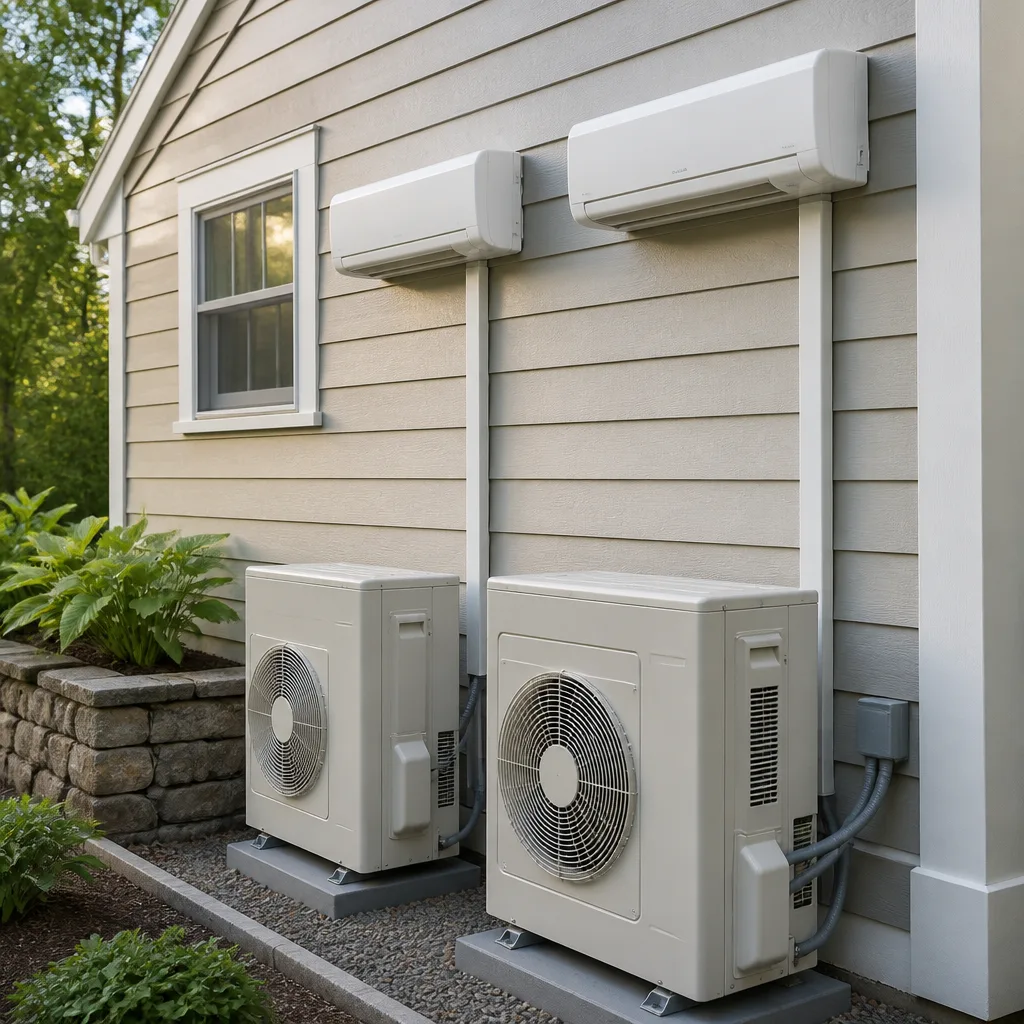
- Incorrect airflow setting on the variable-speed blower
- Thermostat located in a zone that reaches temperature before the rest of the house
- Outdoor condenser placed in full afternoon sun with inadequate clearance
Los Angeles building code requires minimum clearances around condensers for airflow, but we’ve seen units shoehorned into side yards with 6 inches to a fence - a recipe for head pressure problems when ambient temperatures peak.
Short-Cycling: The System That Won’t Stay On
Short-cycling means the compressor starts, runs 5-10 minutes, shuts off, then restarts minutes later. This wears equipment rapidly and never dehumidifies properly. Installation-related causes include:
- Oversized equipment (the most common installation error in America)
- Thermostat in a location with rapid temperature swings, like near a supply register
- Low refrigerant charge triggering low-pressure safety cutout
- Restricted airflow causing coil freeze-up and pressure switch cycling
An oversized system in a Los Angeles bungalow might cool the house in 8 minutes, satisfy the thermostat, and shut off - before the blower has run long enough to remove humidity. You feel clammy. The thermostat says 72°F. Something is wrong, and it’s been wrong since installation.
Excessive Noise During Peak Operation
Systems get louder under load. But a properly installed unit shouldn’t become intrusive. If your outdoor condenser sounds like a jet engine when the mercury hits 95°F, possible installation causes include:
- Incorrect refrigerant charge causing compressor strain
- Non-condensables (air or nitrogen) left in the lines during evacuation
- Undersized electrical service causing voltage drop and motor buzz
- Condenser coils blocked by construction debris not cleaned at startup
The Hidden Cost of Duct Leakage
Duct leakage is the installation error you cannot see, cannot hear, and often cannot feel - until your electric bill arrives. In Los Angeles, where attic temperatures reach 140°F in summer, leaking return ducts pull that superheated air directly into your system. Leaking supply ducts dump cooled air into your attic, crawl space, or walls.
The Department of Energy estimates typical duct systems leak 20-30% of conditioned air. Post-installation duct sealing is rarely performed unless specifically contracted. Yet it’s often the single largest factor in whether a new system performs as designed.
Signs of duct leakage include:
- Rooms farthest from the air handler are consistently warmer
- Dusty supply registers (attic air being pulled in on return leaks)
- Utility bills higher than predicted despite efficient equipment
- System that “should” be right-sized but can’t keep up
In Los Angeles, Title 24 energy code requires duct sealing verification for new installations, but enforcement varies by jurisdiction. Ask your contractor for the duct leakage test results in writing. A properly sealed system should test below 6% leakage. If they can’t produce the number, the test wasn’t done.
We’ve replaced systems in Culver City and Alhambra where the previous installer’s “new” 16 SEER unit performed like a 10 SEER because 25% of its cooling never reached the living space. The equipment wasn’t the problem. The ducts were.
Reading Your Electric Bill as a Diagnostic Tool
Your electric bill is an objective scorecard for installation quality. Here’s how to read it.
A properly installed 3-ton AC in Los Angeles, running at typical cooling loads, consumes roughly 2.5 to 3.5 kWh per hour of operation. At LADWP or SCE summer rates (often $0.25-$0.35/kWh depending on tier and time-of-use), that translates to roughly $0.75-$1.20 per runtime hour. During a hot month with 200-250 runtime hours, expect an increase of $120-$180 over your non-cooling baseline.
Bill spikes that suggest installation problems:
| Symptom | Likely Installation Cause | Estimated Cost Impact |
|---|---|---|
| Bill 50%+ higher than expected | Refrigerant undercharge or overcharge | $80-$150/month excess |
| Bill high but house still warm | Duct leakage or poor insulation contact | $60-$120/month excess |
| Bill high, system runs constantly | Oversized or undersized equipment | $100-$200/month excess |
| Bill spiked after “tune-up” | Refrigerant added unnecessarily | $50-$100/month excess |
Track your usage month by month. SCE and LADWP both provide hourly usage data online. If your kWh per day jumps disproportionately to temperature, the system is working harder than it should - and installation quality is the prime suspect in a new system.
The 30-Day Post-Installation Check Every Homeowner Should Do
The first 30 days are your highest-leverage window. Problems are fresh, documentation is at hand, and warranty disputes are straightforward. After 90 days, contractors start asking whether “something changed” in your home.
Perform this check on day 14 and day 30. Document with photos and notes.
Step 1: Thermostat Accuracy Test
- Place a calibrated thermometer (a $10 digital indoor/outdoor unit is fine) next to the thermostat, shielded from direct airflow.
- Wait 30 minutes. Compare readings. They should match within 2°F.
- Check thermostat programming: are the scheduled setbacks actually occurring? We’ve found installers who left factory defaults that bear no relation to occupancy patterns.
- Verify the thermostat reads humidity if it’s a smart model. Los Angeles summer indoor humidity should stay between 40-55%. Higher suggests poor dehumidification, often from oversized equipment or short cycling.
Step 2: Room-to-Room Airflow Balance
- Close all exterior doors and interior doors you normally keep closed.
- Run the system in cooling mode for 20 minutes.
- Using a thermometer or even your hand, check supply register temperature at each vent. Supply air should be 14-20°F cooler than return air.
- Check airflow strength. A room with weak supply but normal temperature may have a duct leak. A room with strong supply but warm air may have a refrigerant distribution issue in a zoned system.
- Walk the house. Note any rooms that lag the thermostat by more than 3°F.
Step 3: Condensate Drain Inspection
- Locate the primary drain line termination (usually near an exterior hose bib or into a laundry sink).
- Run the system in cooling on a humid day. You should see steady water flow during operation.
- Check the emergency drain pan under the indoor unit. It must be dry. If wet, the primary drain is restricted.
- Verify the safety switch is wired to shut down the system if the pan fills. Test by temporarily blocking the primary drain - the system should stop. (Remove the blockage immediately after.)
Step 4: Outdoor Unit Operation
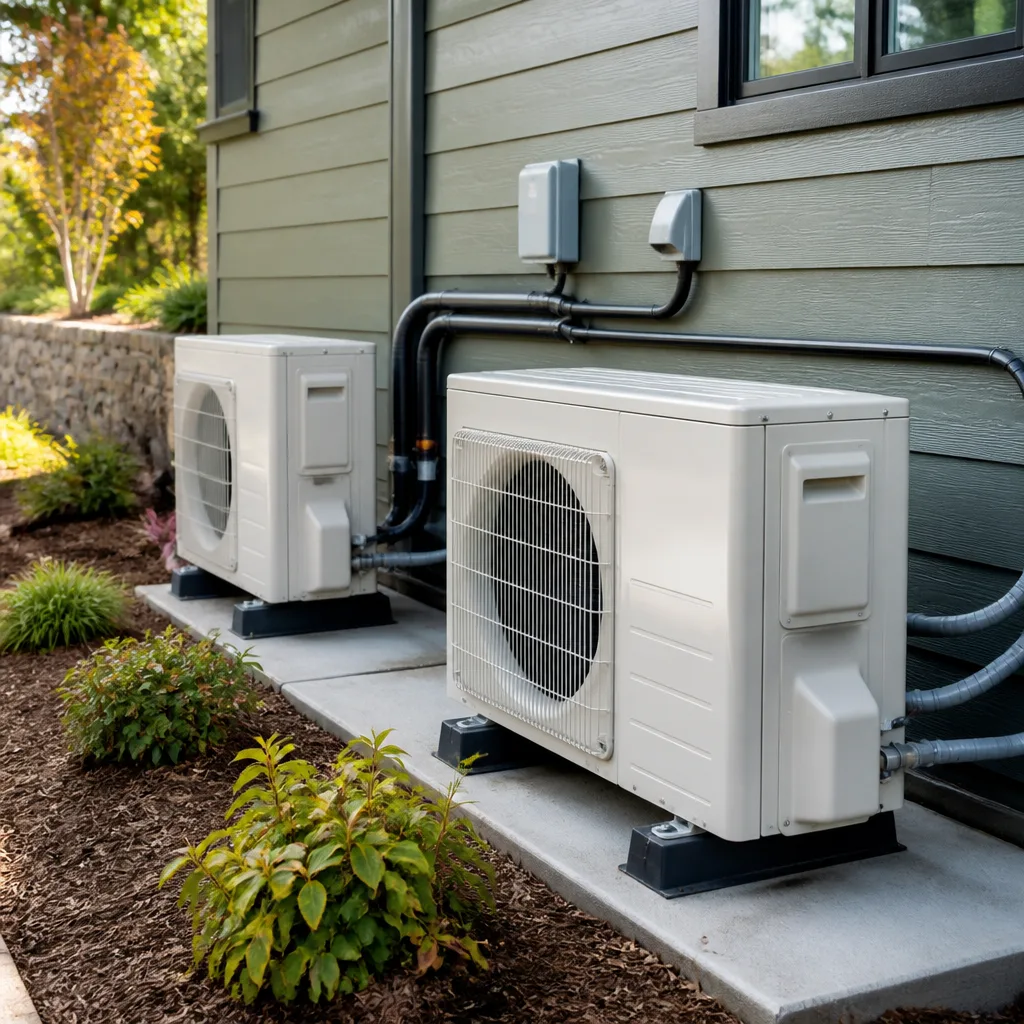
- Observe the condenser fan - it should spin smoothly without wobble or contact with the guard.
- Listen for compressor startup. It should be a smooth transition, not a grunt or clank.
- Feel the large insulated line (suction line). It should be cold and sweating in humid conditions. Warm or ambient temperature suggests refrigerant problems.
- Feel the small uninsulated line (liquid line). It should be warm, roughly outdoor ambient plus 20-30°F. Hot enough to burn suggests blockage or severe overcharge.
Document everything. Photos of thermometer readings, video of unusual sounds, dated notes on room temperatures. This is your evidence if problems emerge later.
Documentation to Keep From Installation Day
The paperwork from installation day becomes critical if problems surface months later. Yet most homeowners file it and forget it - or never receive it in the first place.
Request and keep these specific items:
- Refrigerant charge readings: Ask the technician to photo the gauges showing superheat and subcooling values at startup. Proper charging for your specific lineset length and indoor/outdoor match is not guesswork. If the system loses charge later, these baseline photos prove it left the factory (or installer’s truck) correctly charged.
- Load calculation (Manual J): The mathematical basis for equipment sizing. In Los Angeles, this should account for your specific elevation, orientation, window performance, and insulation. A “rule of thumb” sizing (500 square feet per ton, for example) is not acceptable and violates Title 24 for permitted work.
- Permit and inspection records: Los Angeles requires permits for AC replacement in most cases. The permit card should be posted, and the city or county inspector must sign off. No permit means no independent verification of installation quality.
- Warranty registration confirmation: Equipment warranties from Goodman, Rheem, York, and Daikin require timely registration, often within 60 days, for full term. Get the confirmation number. The manufacturer’s warranty is separate from and in addition to any contractor labor guarantee.
- Written contractor guarantee: At Coldharbour, this is our 365-Day Done Right Promise - a written guarantee issued on every repair, and if the repair fails within that 365-day period, we return and correct the work at no additional charge. Whatever your contractor offers, get it in writing with specific terms, not a verbal “we stand behind our work.”
- Before/after photos of the work area: Duct modifications, electrical connections, pad placement. These protect both parties if disputes arise.
Store these with your home records, not in a file you’ll misplace. Cloud storage with dated backups is best. A warranty claim in year three often depends on proving installation-day conditions.
Common Mistakes to Avoid
- Accepting “it needs to break in.” Modern AC systems do not require a break-in period. Proper refrigerant charge, correct airflow, and sealed ducts perform correctly from hour one. Any contractor who suggests waiting 2-3 weeks for performance to “settle” is delaying an inevitable callback.
- Ignoring the first electric bill. Many homeowners blame rate increases or weather without comparing actual kWh usage. A 30% jump in consumption with similar weather means the system is working harder than designed.
- Letting the contractor size by square footage alone. In Los Angeles, a 1,500 square foot home in Venice with old single-pane windows and no insulation needs more cooling capacity than a 2,000 square foot home in Playa del Rey with new construction and ocean breezes. Manual J load calculations exist because square footage is not enough.
- Skipping the permit to save money. Unpermitted work voids some homeowners insurance coverage, complicates resale, and removes the independent inspection that catches dangerous errors. The permit fee in Los Angeles is typically $150-$400 - minor compared to system cost, and not worth the risk.
- Not verifying warranty registration. We’ve seen homeowners assume the contractor registered their 10-year parts warranty, only to discover at year six that registration was never submitted and coverage reverted to 5 years. Confirm directly with the manufacturer.
- Living with uneven cooling. “That’s just how this house is” is rarely true. Room-to-room temperature differences exceeding 3°F indicate a solvable distribution problem, not a structural inevitability.
- Waiting past the dispute window. Most installation contracts and credit card chargeback windows close at 90 days. Problems that emerge at day 120 are harder to resolve than those reported at day 20. Document early, report promptly, follow up in writing.
When to Call a Professional
Call for same-day service if you smell refrigerant, see water damage spreading, hear grinding or screaming from the compressor, or the system won’t start at all. These are not wait-and-see symptoms.
Schedule a diagnostic within 48 hours for short-cycling, inability to reach setpoint on mild days (under 85°F), temperature swings more than 3°F hour to hour, or electric bills that jump more than 40% from your reasonable estimate. These problems worsen with time and stress other components.
For new installations with any concern, request the installing contractor’s return visit first - they know the specific work performed. But if they deflect, delay, or deny, you have options. Los Angeles requires licensed contractors for HVAC work; verify license status at cslb.ca.gov. Document all communications.
AC Installation in Los Angeles from Coldharbour Heating & Air includes written load calculations, permit handling, and our 365-Day Done Right Promise on all work. If you’re seeing warning signs from a recent installation by another company, we offer free estimates to assess the situation - call (817) 402-2972. A second opinion on installation quality often reveals correctable errors that protect your investment.
Frequently Asked Questions
You shouldn’t wait at all - a properly installed system performs correctly from the first cycle. Perform the 30-day check described above starting on day 14, and report any concerns immediately. The “break-in period” some contractors mention applies to belt seating in very old equipment, not modern refrigerant systems. If cooling is inadequate, noisy, or uneven in the first two weeks, demand correction. Call (817) 402-2972 for a free estimate if your installer is unresponsive.
A properly installed 3-ton system in a typical Los Angeles home adds roughly $120-$180 to summer monthly bills at current SCE or LADWP rates, assuming 200-250 runtime hours. Smaller homes or coastal zones with less cooling load may see $80-$120; larger homes or inland valleys with extended 100°F days may see $180-$250. Bills consistently exceeding these ranges by 40% or more suggest installation problems - refrigerant error, duct leakage, or oversized equipment short-cycling. Track your kWh usage, not just dollar amounts, to separate rate changes from consumption problems.
Uneven cooling after installation usually traces to duct problems: dampers left unbalanced, disconnected runs, or insufficient return air pathways. Less commonly, the equipment is oversized and satisfies the thermostat near the sensor before distant rooms receive adequate runtime. In Los Angeles, we’ve corrected many installations where contractors reused old ductwork without resizing for new blower capacity. A room-by-room airflow test during your 30-day check catches this early. Persistent uneven cooling is not normal and is correctable.
Replace ductwork when it’s galvanized steel with significant rust, flex duct that’s crushed or delaminated, or when leakage testing shows over 15% loss. Repair and seal when the infrastructure is sound but connections have degraded. In Los Angeles, original ductwork from the 1960s-1980s often has asbestos tape on joints - disturbance requires abatement, making replacement sometimes more practical than repair. Your contractor should present test results, not assumptions. At Coldharbour, we test and show you the numbers before recommending scope.
No. Refrigerant handling requires EPA Section 608 certification, and modern systems use precise charges measured by weight, not pressure alone. More critically, a new system with low refrigerant has a leak - the refrigerant went somewhere - and adding more without finding and repairing the leak violates federal regulations and wastes money. The leak is almost certainly at an installation joint. This is the installer’s responsibility to find and fix at no charge within the warranty period. Never attempt DIY refrigerant work; the high pressures can cause serious injury.
Most AC replacements in Los Angeles require a mechanical permit from the city or county building department, with inspection of electrical connections, refrigerant handling, and sometimes duct modifications. Title 24 energy compliance documentation is also required. The permit process typically takes 2-5 days for approval and includes a rough inspection (if ductwork changes) and final inspection. A contractor who suggests skipping permits to save time or money is exposing you to insurance complications, resale disclosure problems, and uninspected work. Coldharbour handles all permit paperwork as standard practice on every installation.
The Bottom Line
The warning signs of a bad AC installation split into two camps: the obvious ones that appear in days (smells, leaks, noise, uneven airflow) and the insidious ones that wait for peak summer stress (high bills, inadequate cooling, short-cycling, humidity problems). The 30-day check - thermostat accuracy, room-to-room balance, condensate drainage, and outdoor unit operation - catches both categories early while documentation is fresh and disputes remain simple. Keep your installation-day paperwork: refrigerant readings, load calculations, permits, and warranty confirmations. In Los Angeles climate conditions, a properly installed system from a quality manufacturer like Goodman, Rheem, or York should deliver predictable comfort and predictable costs from month one. For ongoing care, see our more guides & resources. Anything less is a conversation worth having - promptly, in writing, with evidence in hand.
Written by Victor Mancini, Owner at Coldharbour Heating & Air, serving Los Angeles since 2003.